
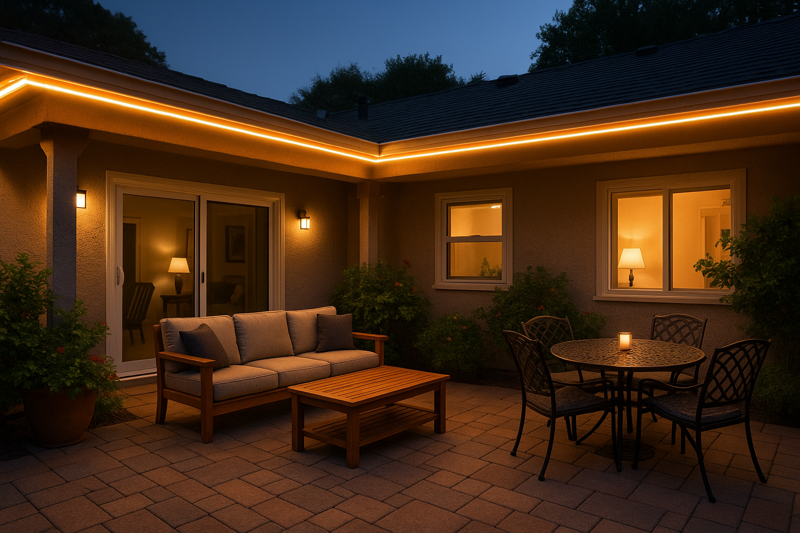
How Do You Properly Waterproof LED Strip Lights for Outdoor Use?
Thinking about lighting up your garden or patio? But water is the enemy of electronics. Improper installation can lead to short circuits and failure after just one heavy rain.
Properly waterproofing outdoor LED strip lights involves three key steps. First, select a strip with the correct IP rating (like IP67 or IP68). Second, use waterproof connectors for all joints. Finally, completely seal every connection point, including end caps, with high-quality silicone adhesive.
It sounds simple, but the details are what separate a professional, long-lasting installation from one that fails in a few months. As a factory owner, I’ve seen countless projects succeed and fail based on these small details. Let’s walk through the exact process I recommend to my clients, like lighting designers and contractors, to ensure their projects shine for years.
Which IP Rating is Best for Outdoor LED Strips?
You see IP ratings like IP65, IP67, and IP68 everywhere. But picking the wrong one for your project can be a costly mistake, leading to premature failure and unhappy clients.
For most outdoor applications, IP67 is the ideal choice. It offers complete protection against dust and can be submerged in up to 1 meter of water temporarily. IP68 is for permanent underwater use, which is often overkill for patios or gardens.
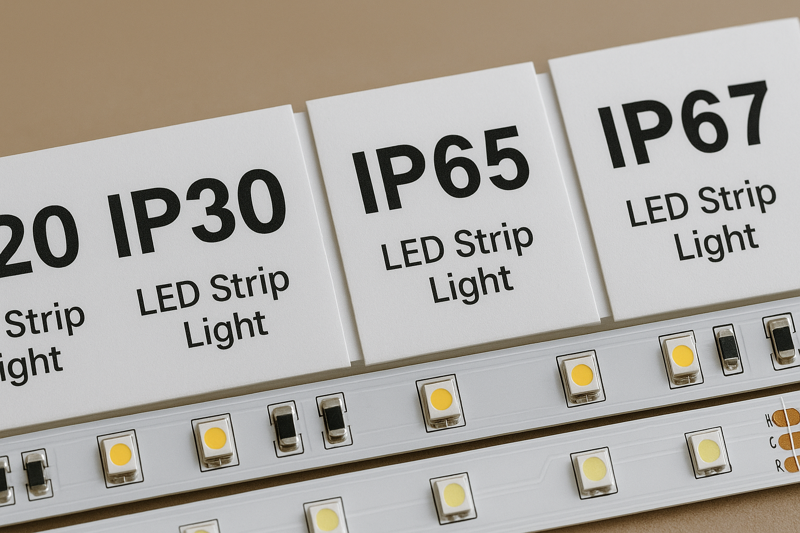
Let’s dive deeper into what these numbers actually mean for your project. The IP (Ingress Protection) rating is a standard that tells you how well a product is sealed against solids and liquids. The first digit is for solids (like dust), and the second is for liquids (water). A "6" for the first digit is the highest rating for dust protection, which is essential for any outdoor product. The real difference is in the second digit. I always tell my B2B clients, like Tom from the US, to think about the specific location. Don’t just buy the highest number. Over-specifying can increase costs without adding real value. For example, a strip under a roof eave might only need IP65, but one along a garden path that sees puddles needs IP67.
Here is a simple table we use at our factory to help clients choose:
| IP Rating | Water Protection Level | Best Use Case |
|---|---|---|
| IP65 | Protected against low-pressure water jets from any direction. | Under covered patios, verandas, or soffits. Not for ground level. |
| IP67 | Protected against temporary immersion in water (up to 1m for 30 mins). | Garden pathways, decks, areas exposed to heavy rain and puddles. |
| IP68 | Protected against continuous immersion in water under pressure. | Inside ponds, pools, or fountains. |
Choosing the right IP rating from the start saves you time, money, and headaches down the road.
What Are the Key Steps to Prepare for Installation?
You have your high-quality, IP67-rated LED strips. But rushing the installation will ruin them. A little bit of preparation is the key to a flawless and durable result.
Before you install anything, thoroughly clean the surface where the strip will be mounted. Then, measure and cut the strip to the required lengths. Finally, gather all your tools and materials, including silicone sealant and waterproof connectors.

Preparation is about control. I remember an early project where a contractor client skipped the cleaning step. The adhesive backing on the strip failed within a week because it was stuck to dust, not the surface. It was an expensive lesson for him. The first thing to do is always clean the mounting surface with isopropyl alcohol. This removes any dust, oil, or grime and ensures the 3M tape on the back of our strips gets a perfect bond. Next, measure twice and cut once. LED strips have designated cut marks. Cutting anywhere else will damage the circuit. After cutting, you should lay out the strips and power supply to make sure everything fits and reaches the power source.
Here’s a checklist I give our wholesale partners to share with their installers:
Project Preparation Checklist
- Surface Cleaning: Have isopropyl alcohol and a clean, lint-free cloth ready.
- Measurement: Use a reliable measuring tape. Double-check all lengths.
- Cutting: Use sharp scissors and only cut on the marked lines.
- Layout Test: Do a "dry run" by placing the strips without peeling the adhesive.
- Tool & Material Gathering:
- IP67+ LED Strips1
- Waterproof Power Supply2
- Waterproof Connectors (if not soldering)
- Soldering Iron and Solder (for the best connection)
- Heat Shrink Tubing with adhesive lining
- High-Quality, neutral-cure Silicone Sealant
- Silicone End Caps
Taking 30 minutes to prepare properly can save you hours of troubleshooting later.
How Do You Seal Connections and End Caps to Prevent Water Damage?
The LED strip itself might be waterproof, but every cut and connection is a weak point. This is where 90% of outdoor lighting failures happen. Water will find a way in.
To create a fully waterproof seal, you must fill both the connector and the end cap with a generous amount of clear, neutral-cure silicone sealant before pushing them onto the strip. This ensures no air gaps are left for moisture to penetrate.
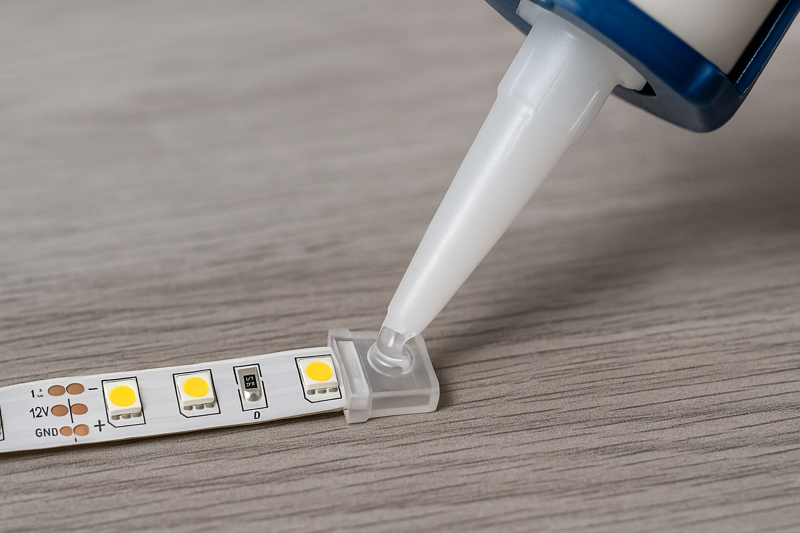
This is the most critical step, and where I see the most shortcuts taken. Many installers just put a dab of silicone around the outside of the connection. That is not enough. Water will eventually get through. At Rhstriplighting, we provide our OEM clients with detailed guides on this. The correct method is to inject the silicone inside the end cap or connector first. You want a good amount in there. Then, when you push the cap or connector onto the end of the strip, the excess silicone will squeeze out. This creates a complete, airtight seal from the inside out. Wipe away the excess for a clean finish. For connections between two strips, soldering is always the most reliable method. After soldering, cover the joint with adhesive-lined heat shrink tubing. The heat melts the glue inside, creating a rock-solid, waterproof bond. This two-layer approach—soldering plus adhesive heat shrink—is what professionals use for projects that need to last a decade, not just a season.
Connection Sealing Methods
| Method | Reliability | Best For | Key Tip |
|---|---|---|---|
| Clip-on Connectors3 | Good | DIY projects, easy connections | Must be IP67-rated. Fill the connector with silicone before closing. |
| Soldering + Heat Shrink4 | Excellent | Professional, permanent installations | Use heat shrink tubing with a waterproof adhesive lining inside. |
| End Caps | Excellent | The end of every run | Fill the cap with silicone before putting it on the strip. |
Never, ever leave a cut end exposed to the elements, even for a day.
Are Waterproof Power Supplies and Controllers Necessary for Outdoor Setups?
You’ve perfectly waterproofed your LED strips and connections. But you plug them into a standard indoor power supply. You’ve just created a massive safety hazard.
Yes, absolutely. You must use a waterproof power supply (rated IP67 or higher) for any outdoor LED strip installation. This protects the internal electronics from moisture and corrosion, preventing failure and ensuring electrical safety.
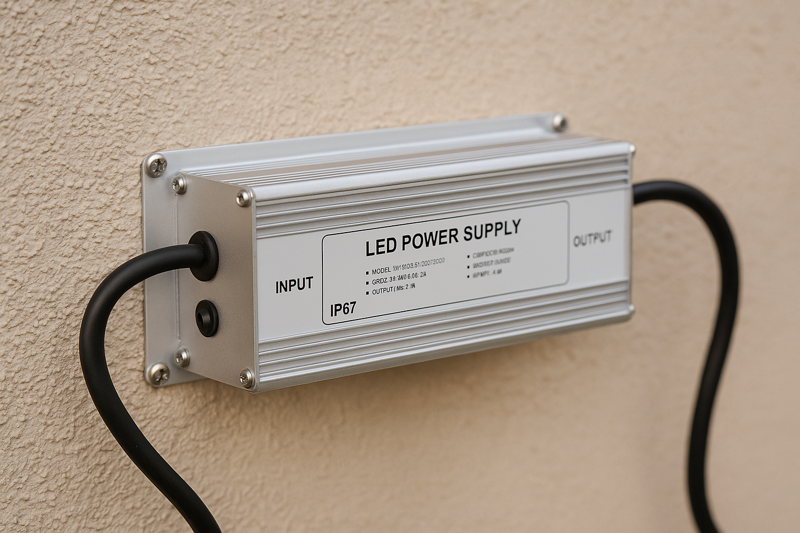
Think of the system as a chain; it’s only as strong as its weakest link. Your LED strip can be IP68, but if the power supply is IP20 (for indoor use only), the first rainstorm will cause it to short-circuit. It’s not just a matter of performance; it’s a critical safety issue. I always insist that my clients in North America and Japan purchase a complete system solution from us, including the certified waterproof power supply. These units are fully sealed in a metal or plastic case to protect the high-voltage components from water. The same logic applies to controllers for RGB or tunable white strips. If the controller is located outdoors, it must also have a waterproof rating. Place the power supply in a location with some ventilation to prevent overheating, but ensure it’s protected from direct, prolonged submersion unless it’s specifically rated for it. For my clients who value quality control and certification, this is non-negotiable. Using the right power supply ensures a safe, reliable, and long-lasting lighting system.
Conclusion
Properly waterproofing your outdoor LED strips is about using the right materials and focusing on the details, especially at every connection point. It ensures your project lasts for years.
-
Explore the advantages of IP67+ LED Strips for durability and performance in various environments. ↩
-
Learn how a Waterproof Power Supply can improve the reliability and longevity of your LED installations. ↩
-
Discover how Clip-on Connectors can simplify your DIY projects while ensuring reliable connections. ↩
-
Explore this link to understand why Soldering + Heat Shrink is the top choice for durable and waterproof electrical connections. ↩
Interested in Our LED Solutions?
Get professional consultation and customized LED lighting solutions for your projects. Contact our expert team today.
Related Articles

How Do You Build Profitable Custom Vehicle and RV Interior LED Rope Lights?
You lose RV installation contracts because your interior lights fail on rough roads. Standard strips show bright dots on glossy…

How to Perfect Bookshelf and Display Cabinet LED Rope Lighting?
You lose retail clients when bookshelves look incredibly dark. Ugly shadows hide expensive products inside display cabinets daily. You need…

How to Master Mirror and Vanity LED Rope Light Installation?
Your clients complain about ugly shadows in their bathroom mirrors. Bad lighting ruins expensive vanity designs. You lose future contracts…
