
LED Strip Lighting for Retail Fitting Rooms: Face, Fabric, and Mirror Glare
A fitting room can have a perfectly continuous illuminated mirror and still make clothes difficult to judge. The light may outline the glass beautifully while leaving the wearer’s face in shadow. A bright ceiling can make the floor easy to see without revealing the cut of dark trousers. A flattering scene can also make a jacket look noticeably different from the matching trousers outside the room.
These are different failures, so they need different tests. Choosing a higher-output or higher-CRI LED strip does not automatically solve all three.
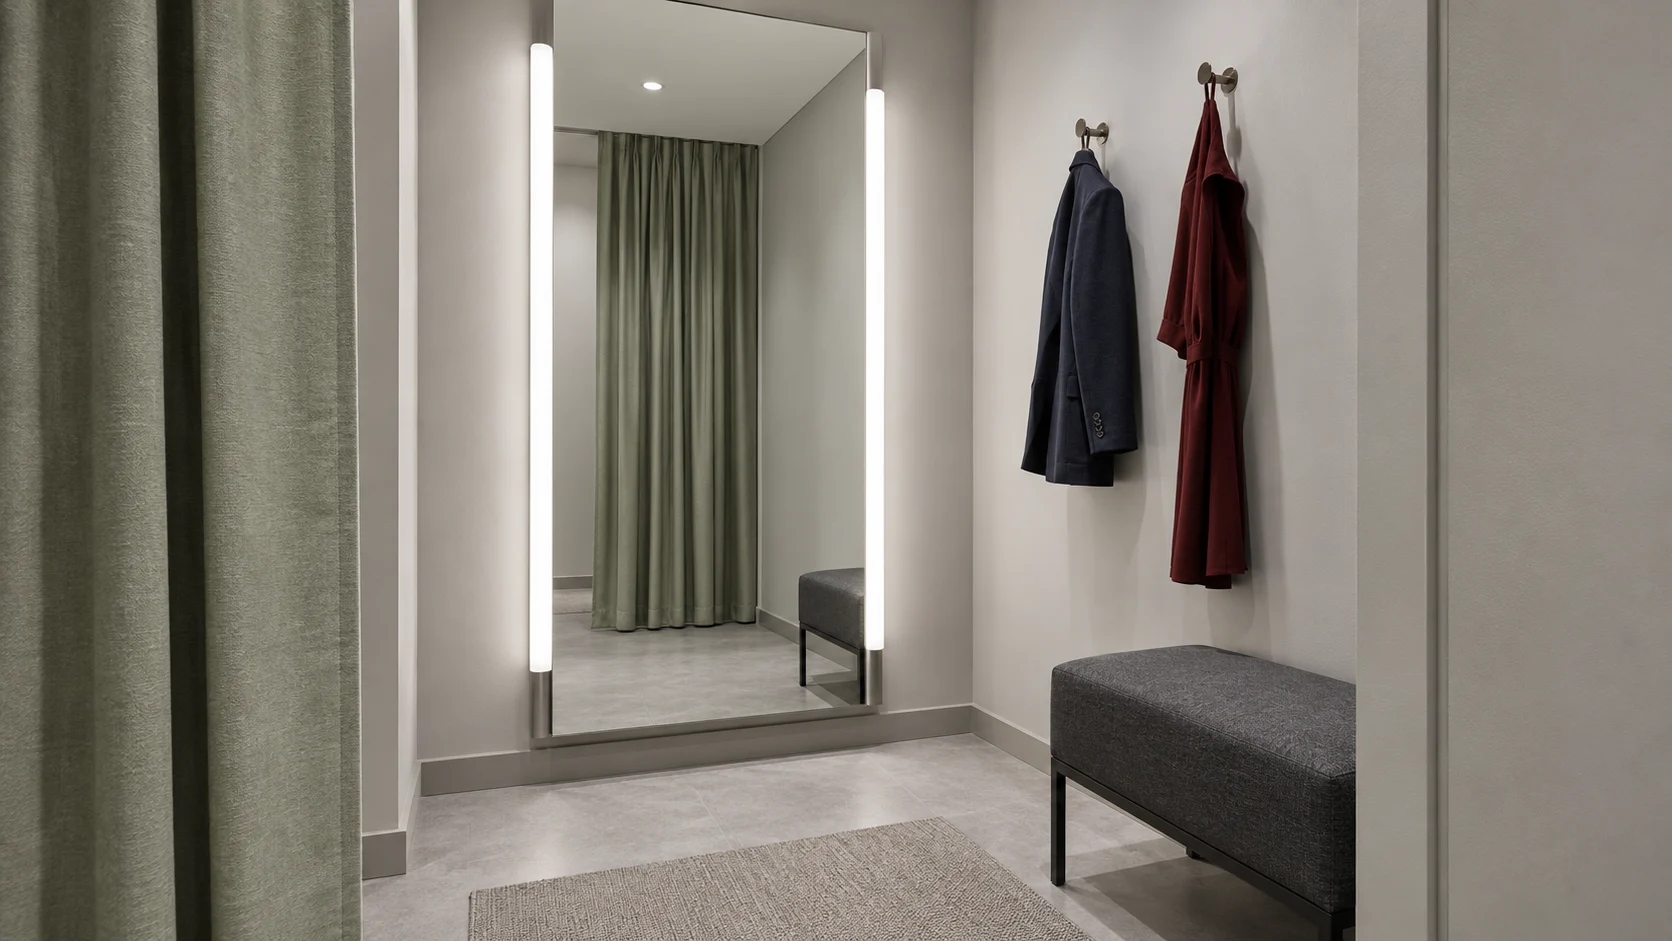
This guide is for retail designers, shopfitters, lighting specifiers, and purchasing teams. It sets out a mockup and procurement method, not a universal lighting level or a promise of increased sales. Applicable electrical, accessibility, and building requirements still need project-specific review.
Separate the Mirror Halo From the Working Light
First label each lighting component by function. A concealed strip behind a mirror may create a useful wall halo, but its output is directed toward that wall. Side lighting can contribute illumination toward the wearer. Ceiling lighting provides general visibility and may help model the clothing. One component can serve several purposes, but each claimed function needs evidence.
LEDVANCE’s fitting-room guidance emphasizes light reaching the customer, appropriate vertical illumination, and coordination with the merchandising area.[1] The practical implication is to review the standing position and garment, not simply the mirror elevation drawing.
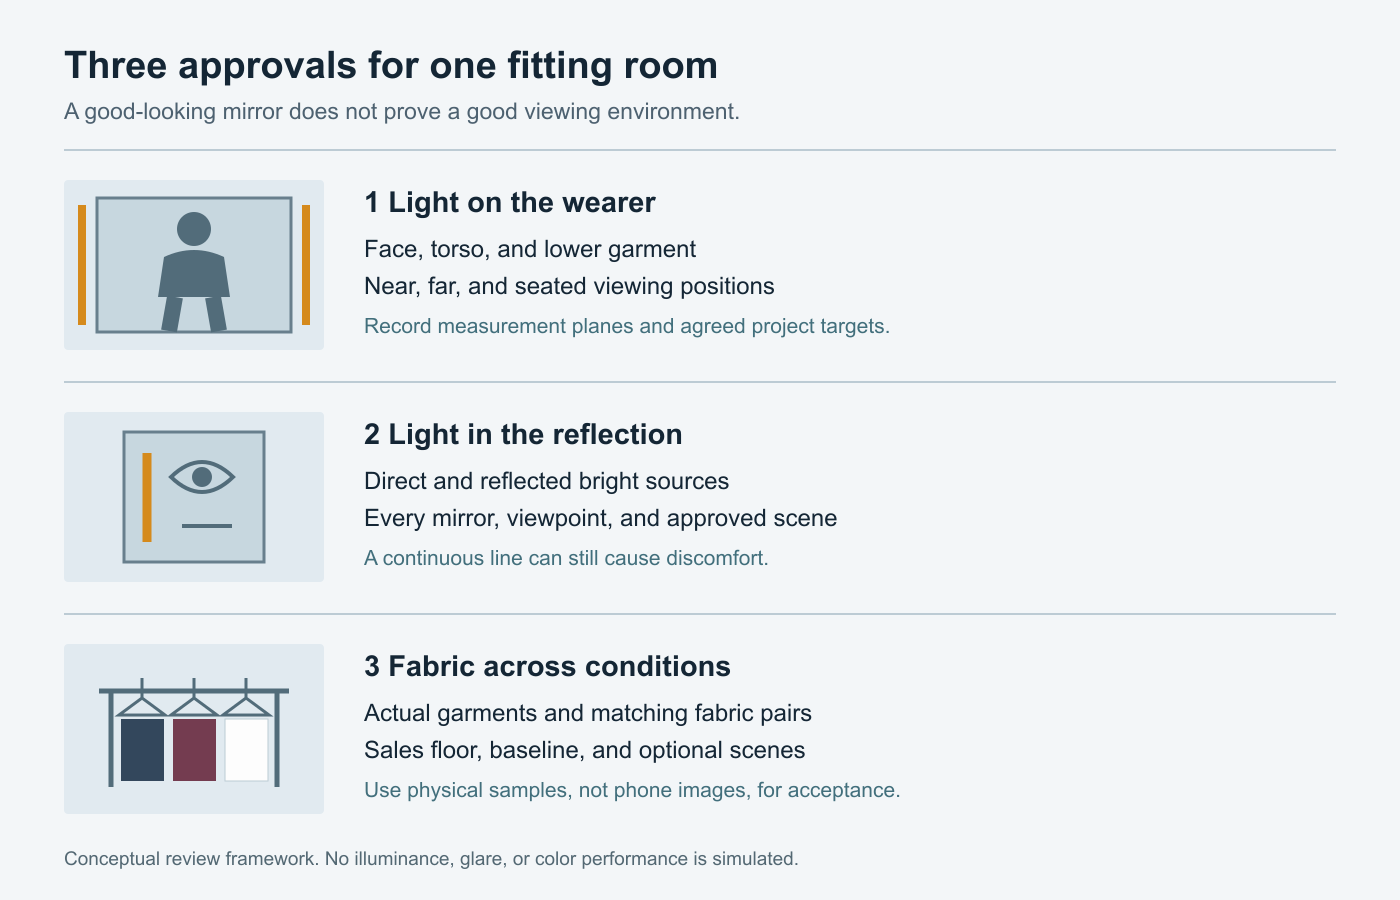
Ask the designer to mark the expected viewing positions on the plan: close to the mirror, farther back for a full-length view, and seated where relevant. Include different user heights and the actual curtain or door position. Do this before fixing the joinery recesses, because moving a profile later may be much harder than changing a strip sample.
For each position, identify which source is doing the work. If the answer is only a decorative halo, the lighting brief may be incomplete even when the rendering looks finished.
Review Face, Torso, and Lower Garment Coverage
Overhead illumination alone is not a reliable substitute for a full-body review. Fagerhult’s retail design guidance discusses vertical coverage in changing rooms and the value of combining light that presents the person with light that reveals material texture.[2] Treat that as a design principle, not a fixed prescription for every room.
In the mockup, inspect the face, shoulder line, torso, knees, and lower hem. A layout approved while someone tries on a shirt can still be poor for long dresses or dark trousers. Use representative garments rather than an empty room or a mannequin wearing only white.
Ask the lighting designer to define illuminance targets, measurement planes, positions, and acceptable variation for this project. Record the sensor orientation. A horizontal measurement on a bench is not interchangeable with a vertical measurement at the wearer, and an average can conceal a weak lower zone.
Evaluate the finished optical assembly: strip, profile, diffuser, recess, and surrounding finishes. Bare-strip lumen data cannot describe all of those effects. See the guide to light output after installation before comparing catalogue values with a completed room.
Check Glare in the Reflection, Not Just From the Door
A profile can look comfortably shielded when viewed from the entrance yet appear as a bright line in the mirror. A second mirror can introduce another reflected view. Check the actual mirror arrangement from every agreed position, including turns made to inspect the side and back of a garment.
The question is not merely whether individual LED dots are visible. A smooth, continuous line can still be uncomfortably bright against a darker background. COB LED strips may help achieve a continuous appearance in an appropriate assembly, but continuity is not a glare rating.
If a bright source dominates the view, test shielding, orientation, position, luminous area, and output together. Dimming the whole room might reduce the offending line while making the clothing too dark. Adding a diffuser may soften the appearance but also change output and distribution. Repeat the wearer-coverage check after every optical change.
Record the problem position and the specific source involved. A note such as “uncomfortable at the seated viewpoint when looking at the upper mirror” is more useful than “too bright.” For the broader specification issue, read glare control for LED strip assemblies; a general rating does not replace this mirror-specific review.
Ask What the Color Report Actually Describes
CCT describes the appearance of the white light, not a complete account of how it renders clothing. A CRI value is useful screening information, but it should not become a guarantee that every fabric, skin tone, and dye combination will look acceptable. Our commercial-project CRI guide explains the basic distinction.
For a color-sensitive retail project, ask for a TM-30 report for the proposed source and relevant operating conditions. The IES method includes overall fidelity, gamut, and hue-specific information, using numerical and graphical outputs.[3] Request the method revision, product identification, CCT, and test conditions with the report. “TM-30 available” without a matching model is not a complete submittal.
The U.S. Department of Energy’s introductory explanation shows why the average fidelity and gamut values should be considered alongside the color vector graphic: similar headline values can hide different hue-specific behavior.[4] For a fashion retailer, that is a reason to look beyond the biggest number on the sales sheet, not a reason to select one universally ideal score.
Agree the desired balance with the brand’s design team. Accurate comparison and a deliberately enhanced appearance are not identical objectives. Document the choice rather than allowing an unrecorded sample preference to become the specification.
Build a Small Test Wardrobe, Not Just a Swatch Card
Bring actual merchandise to the review. Include dark fabrics, neutrals, saturated colors, matte and glossy finishes, and pieces intended to be worn together. A compact kit might contain a navy jacket, charcoal trousers, a burgundy satin garment, a white cotton shirt, and a textured knit. This is a proposed test set, not a standardized color test.
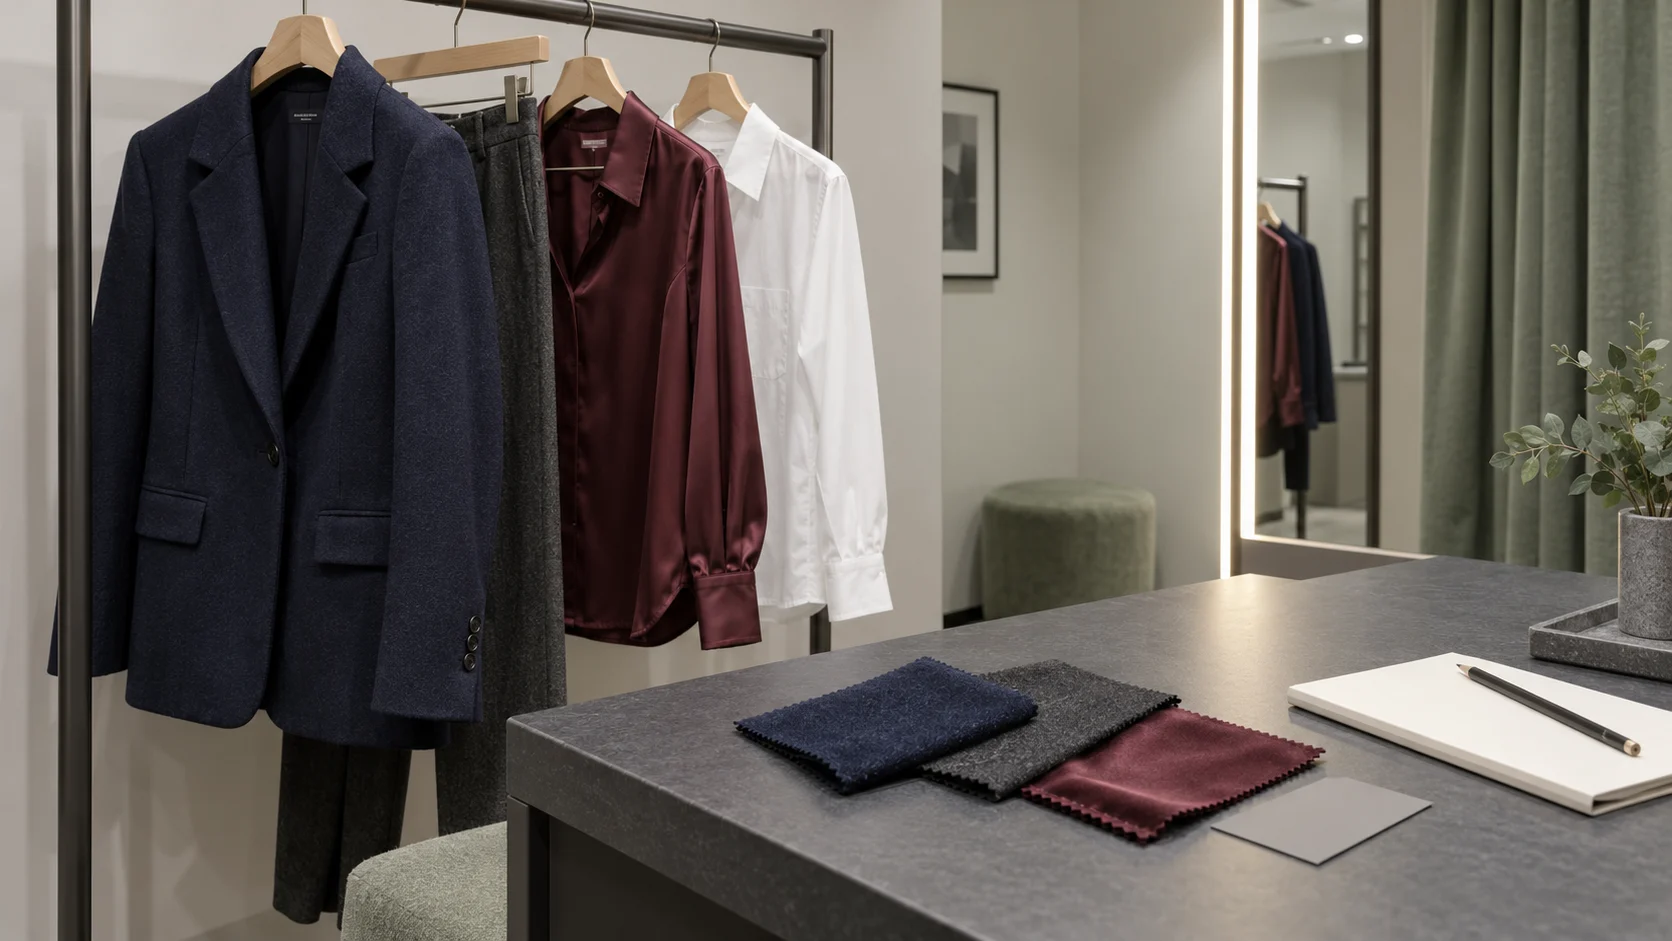
Check matching pieces as pairs. Metamerism describes a match that holds under one lighting condition but breaks under another; it is not simply a label for every object changing appearance when the light changes. X-Rite explains why different material spectra can produce this behavior.[5] A jacket and trousers that appear coordinated on the sales floor therefore deserve a paired review inside the fitting room.
Move the same physical samples between the sales floor and mockup. Do not compare two phone photographs and assume the lighting caused every difference: exposure, white balance, display settings, and image processing also affect the result. Photographs can document positions and construction, but they are not the color acceptance instrument.
Keep the approved sample set, or record exactly which items were used. If a retailer’s next collection has very different fabrics, repeat the review instead of assuming the opening collection covered every future material.
Use Tunable White Only With an Approved Scene Plan
Multiple scenes can help a customer explore different appearances, but they also multiply what must be checked. Start with a clear baseline scene coordinated with the retail environment, then define the purpose of each optional scene.
Specify scene settings and measure their delivered light. If one setting is brighter than another, a preference test mixes brightness with color differences. That may be acceptable for an experience review, but it is not a controlled comparison of CCT alone.
Do not label a cool-white scene a verified daylight simulator solely because of its CCT. The same CCT does not establish the same spectral distribution, and the fabric comparisons above still apply. Where formal color assessment is required, use an appropriate specified viewing system rather than promising that a decorative tunable strip reproduces outdoor conditions.
Review the proposed channel mix at intermediate settings as well as both ends. The tunable-white specification guide is useful when defining controller compatibility, channel loading, and the conditions that must accompany performance data.
Also define the default scene, customer override, staff reset, and power-restoration behavior. Avoid a room that opens in yesterday’s unusual setting because nobody specified the restart state.
Make Controls and Maintenance Part of the Mockup
Test controls during an ordinary fitting session, including a person standing still or sitting down. Occupancy control must not leave an occupied room dark simply because movement is small. Agree detection coverage, timeout, and override with the control specialist, while protecting fitting-room privacy.
Listen at low dimming levels as well as full output. A driver that seems quiet on a noisy shop floor may be noticeable inside a small enclosed room. Use the actual driver, control, cable arrangement, and strip length for this test; the dimming-noise guide covers the related compatibility questions.
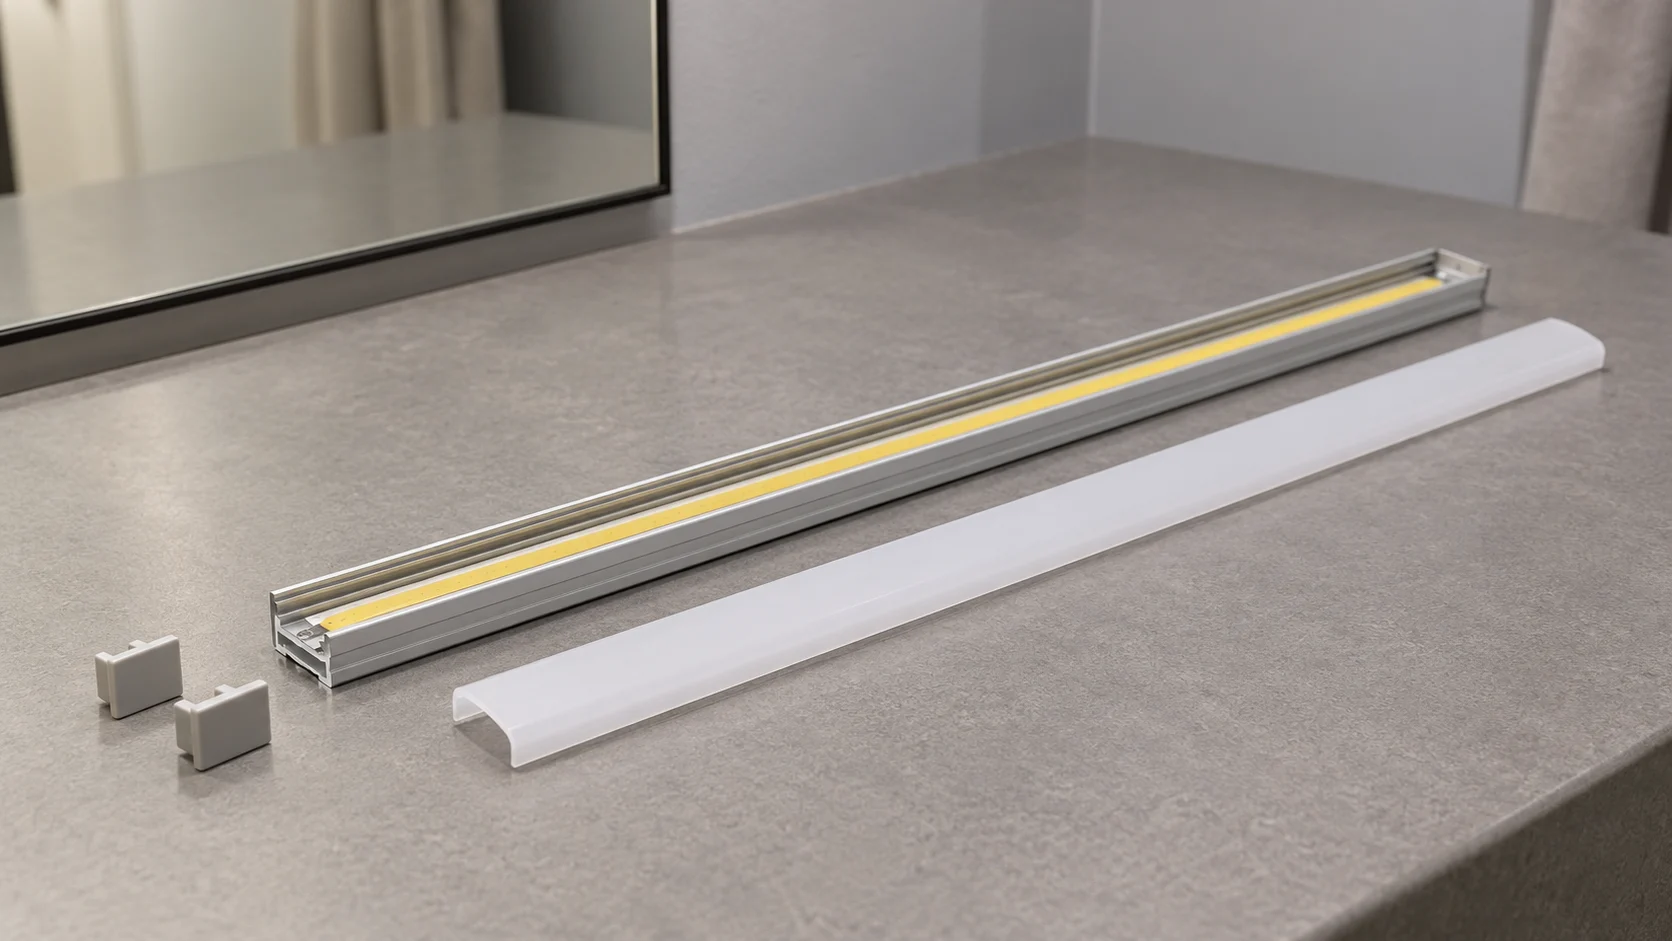
Require a practical route to replace the strip, diffuser, and driver without destroying finished joinery. Check that cleaning and access do not depend on touching fragile exposed components. Qualified installers should confirm electrical protection, mounting, thermal conditions, and access requirements for the actual site.
A replacement also has a visual obligation. Record the approved component versions and color-consistency requirements so that one repaired room does not become visibly different from its neighbors. See protecting LED strip reorder consistency for the purchasing side of that problem.
Approve One Room Before Repeating It Across the Store
The most useful procurement deliverable is not an impressive strip sample in isolation. It is a repeatable room definition: geometry, finishes, optical assembly, controls, and an acceptance record. Use the following matrix as a starting point and add project-specific thresholds with the responsible designer.
| Approval area | Evidence to record | Recheck trigger |
|---|---|---|
| Wearer coverage | Agreed measurement positions and planes; face, torso, lower-garment observations. | Room dimensions, profile location, output, or finishes change. |
| Direct and reflected glare | Standing and seated viewpoints, mirror arrangement, scene settings, identified bright sources. | Mirror size, angle, additional mirrors, or shielding change. |
| Merchandise appearance | Named fabric set, paired items, sales-floor comparison, approved observers’ findings. | Source spectrum, scene mix, or merchandise materials change. |
| Controls | Default scene, low-end dimming, still-occupant test, override, power restart. | Driver, controller, firmware, sensor, or wiring arrangement changes. |
| Service and consistency | Component list, access method, spare specification, approved sample identification. | Component substitution, replacement batch, or supplier change. |
Separate the measured results from subjective observations. Both matter, but “the team preferred sample B” is not a photometric result, and a satisfactory meter reading does not prove that a reflected source feels comfortable.
For the quotation package, include the room plan and section, mirror dimensions, strip lengths, profile and diffuser details, finishes, driver location, control protocol, intended scenes, fabric-review requirements, and the approval matrix. Ask the supplier to identify exclusions and untested combinations. This is more actionable than requesting “high-CRI lighting for a luxury fitting room.”
Specify the Fitting Room as a Complete Lighting Assembly
Send RH Strip Lighting your mirror detail, room drawings, strip lengths, control requirements, and proposed review conditions. Ask for a compatible strip and component recommendation, then validate the proposed assembly in your project mockup before a store-wide order.
Discuss a Fitting-Room Lighting ProjectA successful fitting-room specification makes three things repeatable: how the person is lit, what bright sources appear in the mirror, and how the merchandise looks under the approved conditions. Start with those outcomes. The strip model should follow the evidence.
References
- LEDVANCE: Fitting Rooms. Manufacturer design guidance on customer illumination and coordination with the merchandising area.
- Fagerhult: Find Your Retail Lighting Look. 2016 retail lookbook, changing-room discussion on printed pages 44-45; design examples, not a current code requirement.
- IES: ANSI/IES TM-30-24+E1. Public description of the method for evaluating light-source color rendition; not a certification of the products discussed here.
- U.S. Department of Energy: TM-30 Basics. Introductory explanation based on the 2015 edition; cited for the relationship between metrics and graphics, not as the current standard edition.
- X-Rite: What Is Metamerism?. Explanation of condition-dependent color matching and material differences.
The review framework and acceptance matrix are project-planning recommendations. Images are illustrative; no measured RH product performance or completed customer installation is represented.
Request a Project or Trade Quote
Sourcing for an installation project, resale or OEM production? Share your requirements below. You can discuss project samples before committing to a bulk order.
Related Articles
LED Strip Lighting in Historic Buildings: Design for Removal, Not Just Installation
Plan LED strip lighting in historic interiors around protected finishes, removable supports, cable routes, heat, and maintenance without avoidable damage.

LED Strip Lighting for Indoor Plant Walls: Accent Light or Grow Light?
Specify LED lighting for indoor plant walls without confusing visual brightness with plant needs. Review PPFD, DLI, controls, moisture, and…

LED Strip Lighting After a Power Outage: Designing a Reliable Restart
Plan LED strip power restoration beyond total watts. Review driver inrush, switching limits, restart scenes, and commissioning before project handover.