
LED Strip Lighting for Saunas and Steam Rooms: Heat, Moisture, and Installation Limits
A concealed line of light can make sauna benches appear lighter, reveal the texture of timber, or define the edge of a tiled steam-room seat. Yet a lighting detail that works in a hotel corridor may fail quickly when moved a few meters into the spa cabin. The visible effect is similar; the operating environment is not.
The most expensive specification mistake is to treat a higher IP rating as the complete answer. Water ingress, operating temperature, vapor exposure, cleaning, electrical protection, and access for replacement are separate questions. A product must satisfy the relevant conditions together, in its installed form.
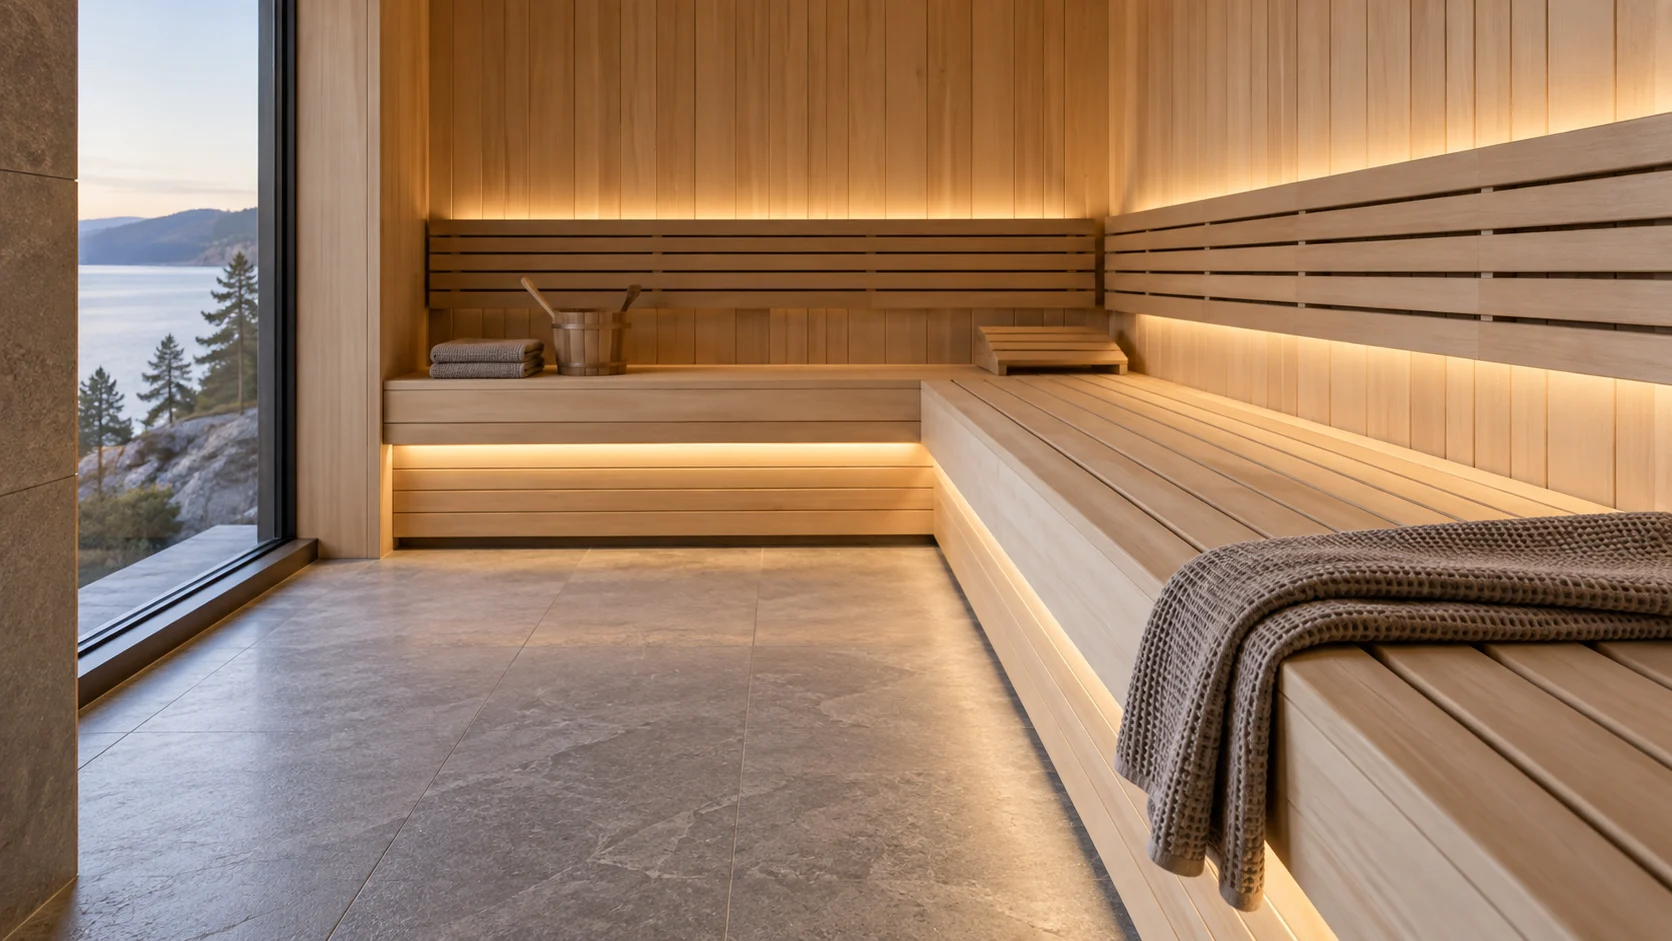
Scope: This is a design and procurement guide, not an electrical installation procedure. Select equipment explicitly supported for the intended sauna or steam-room use. A qualified electrical designer and installer must apply the relevant local requirements and equipment instructions, including permitted locations, supply protection, cable selection, and heater clearances. Ordinary low-voltage tape is not automatically suitable.
1. Separate the Sauna, Steam Room, and Service Space
Do not issue one generic “spa lighting” specification for all three environments. A traditional sauna places substantial thermal demands on equipment, with local conditions affected by height, heater proximity, and airflow. A steam room adds prolonged humid exposure, condensation, and wet cleaning. The adjacent service cupboard may be less severe, but it still needs an assessed temperature, moisture condition, and ventilation arrangement.
| Location | Main questions | Evidence to request |
|---|---|---|
| Sauna bench or backrest detail | What are the local operating temperature, contact exposure, and mounting restrictions? | Complete-product temperature rating, approved mounting method, permitted position, and wiring instructions. |
| Sauna upper wall or ceiling | Does the specific assembly support that location and its thermal exposure? | Explicit location approval; do not extrapolate from an under-bench product. |
| Steam-room lighting recess | How are vapor, condensation, cleaning, and penetrations managed? | Steam-room suitability, enclosure and joint details, compatible sealing system, service instructions. |
| External driver location | Can it remain within its own limits with the cabinet closed? | Driver derating information, access clearances, cable limits, and verified enclosure conditions. |
These are design considerations, not formal electrical zone definitions. Do not use this table to establish legal boundaries or minimum clearances. The room and heater documentation, lighting instructions, and applicable installation rules govern the finished design.
2. Understand What an IP Rating Does Not Tell You
IEC 60529 classifies degrees of protection provided by electrical enclosures.[1] That classification does not, by itself, establish continuous operation at sauna temperature, resistance to every cleaning chemical, or suitability for the complete steam-room installation.
Ask what was evaluated: an uncut factory assembly, a strip body, a connection system, or the finished luminaire. A claimed rating for the light body does not automatically cover a new field-cut end, an improvised splice, or an unsealed cable entry. Likewise, an immersion-related rating alone is not a blanket approval for every jet-cleaning condition.
RH’s IP65, IP67, and IP68 comparison provides background on ingress terminology. For a sauna or steam room, that background must be supplemented with explicit application and temperature documentation.
A useful supplier question is not “Can you make it IP68?” It is “Which exact assembled configuration is supported for this exposure, and what changes invalidate that support?” This shifts the discussion from a label to the actual construction that will be delivered.
3. Read Temperature Numbers Without Mixing Their Meanings
A data sheet may list ambient operating temperature, case temperature, storage temperature, cable insulation temperature, and housing-material heat resistance. Those numbers describe different objects and conditions. The largest one is not the product’s operating limit.
For example, Cariitti’s Sauna Ultra Ambient RGBW page separately lists an ambient range up to 125°C, silicone casing heat resistance of 180°C, and connection-cable heat resistance of 200°C.[2] These are manufacturer-published values for that specific product, not RH ratings or a recommendation to run a lighting assembly at the cable’s temperature limit. The distinction itself is the lesson: material survival and complete-product operation are not interchangeable.
Check the exact variant and current instructions before specifying. Different light directions, cross-sections, terminations, or power configurations can have different restrictions. An approval covering one sauna product is not transferable to a visually similar silicone-covered strip.
Where the supplier specifies maximum ambient temperature, compare it with the local ambient condition using the prescribed method. Where a case-temperature limit is specified, identify the stated measurement point. Do not compare an air measurement with a case limit and call it a pass.
4. Map the Local Conditions Before Choosing the Mounting Height
The cabin’s control display is not a temperature certificate for the lighting recess. A concealed pocket can behave differently from the open room, and a backrest channel can differ from the space below a bench. Survey the intended light, connection, and cable positions under representative operation with the room specialist.
Document the room setting, location, measuring method, stabilization condition, lighting output, and relevant ambient conditions. Include normal heating, occupied-use conditions where appropriate, and cooldown. Follow the equipment’s normal operating instructions; never move heater sensors, obstruct ventilation, or defeat safety controls to conduct a lighting trial.
There is no universal “below this height, any strip is safe” rule. Cariitti’s Sauna Linear system, for instance, publishes separate maximum installation heights for its light components and its power supply.[3] That illustrates why mounting restrictions belong to a specified system rather than to the general category “sauna LEDs.”
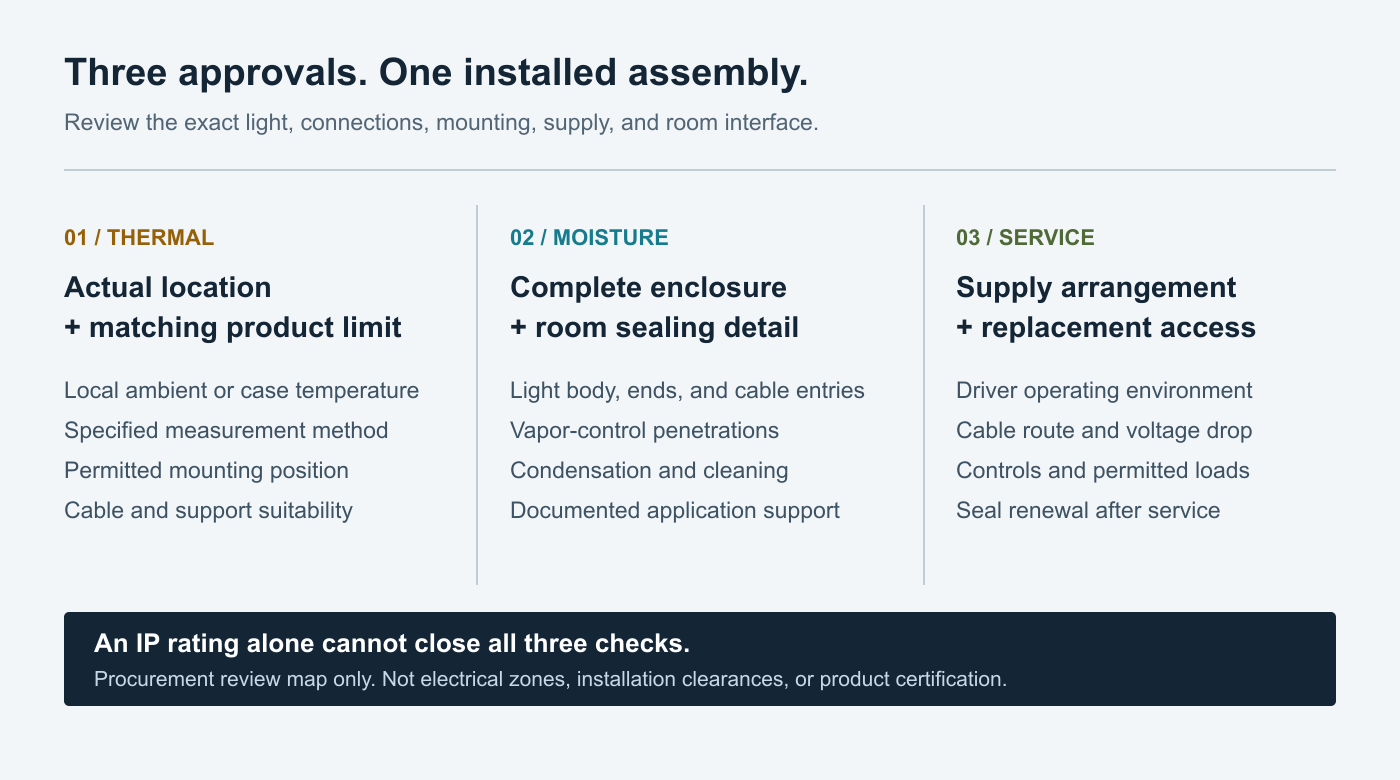
For an illustrative screening check, suppose a product is documented for a maximum local ambient of 60°C, while the proposed position reaches 72°C during the agreed operating assessment. The proposal fails that check even if its IP rating is high. If a reading is 58°C, the 2°C difference is not automatically an adequate design allowance: measurement uncertainty, operating variation, and supplier requirements still need review. These are hypothetical numbers, not typical sauna temperatures or RH specifications.
5. Treat Steam-Room Sealing as a Construction Detail
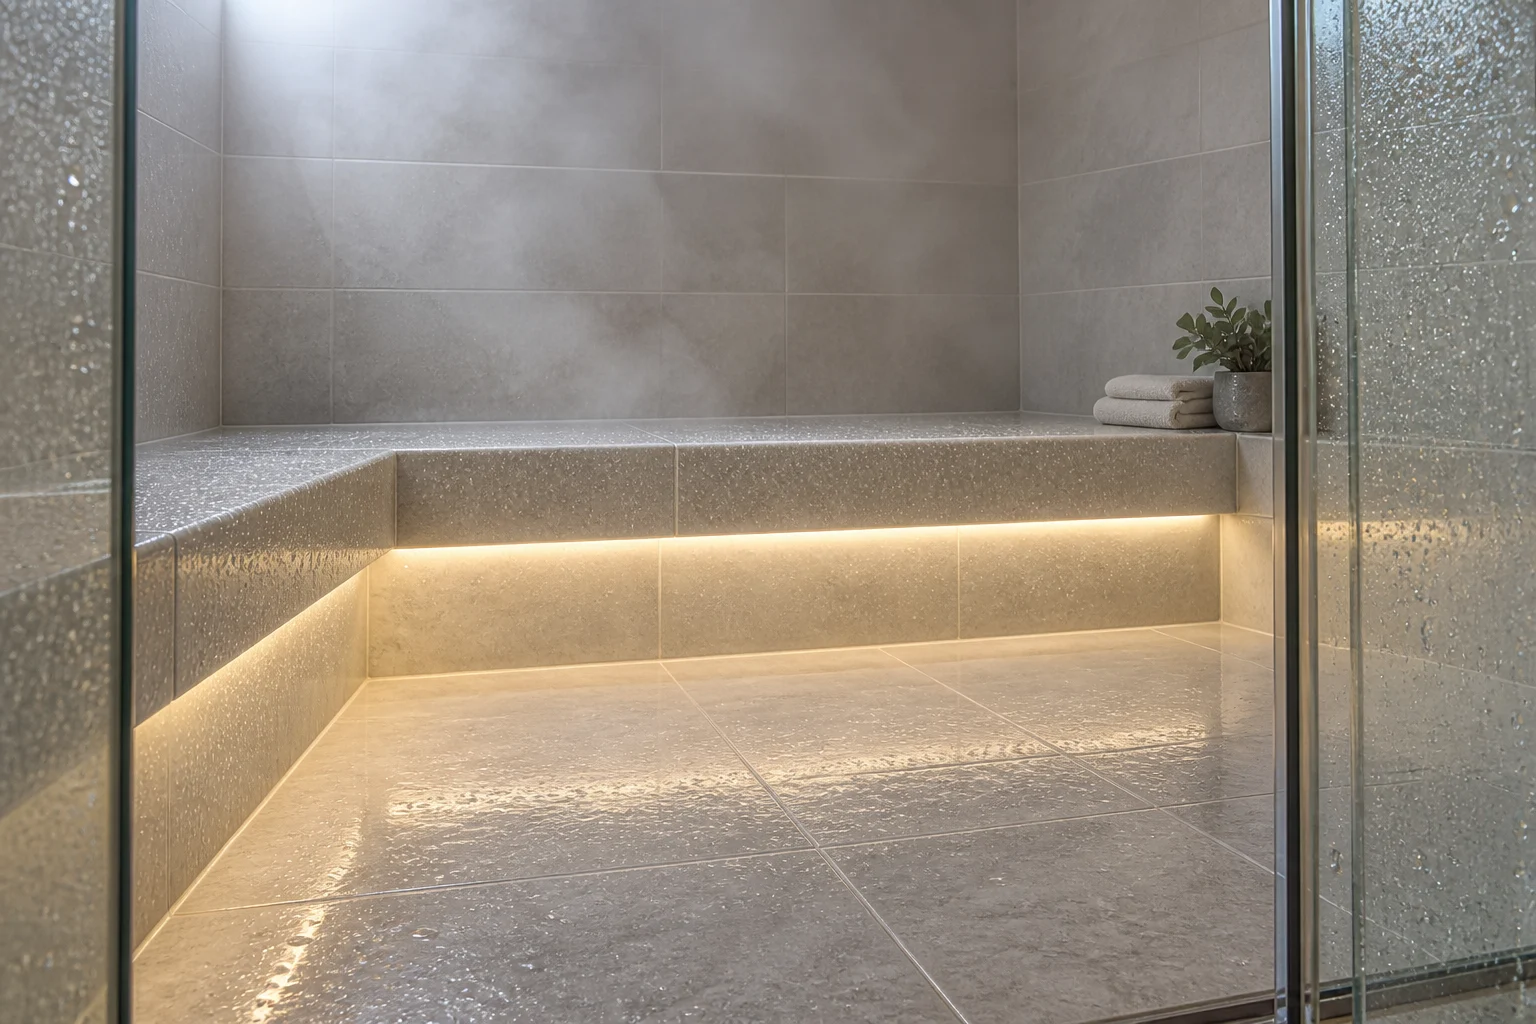
Steam-room lighting must be coordinated with the enclosure, not added as a decorative accessory after tiling. MrSteam’s planning guidance calls for vapor-sealed light fixtures.[4] Its ChromaSteam guidance also locates the fixture away from direct steam or water emission.[5] Those instructions concern its system; they should prompt review of the selected luminaire’s own restrictions rather than be copied as a universal layout.
Draw the light aperture, end closures, cable entry, mounting fixing, and every penetration through the room enclosure. Assign responsibility for continuity of the waterproofing and vapor-control layers. A sealed lighting body does not repair an uncoordinated opening in the wall.
Ask whether the selected materials tolerate the specified cleaning agents, dilution, temperature, and contact time. Record whether spray cleaning is permitted and any restrictions. Avoid a detail that forms a concealed water pocket around a connector or that requires breaking the room’s seal each time a driver is serviced.
Do not add field sealant as a substitute for documented suitability. Any sealing material, preparation method, cure condition, and repair procedure must be compatible with the approved assembly. For general joint-risk background, see RH’s LED connection guide; its ordinary methods are not automatic steam-room approvals.
6. Move the Driver Only After Planning the New Cable Route
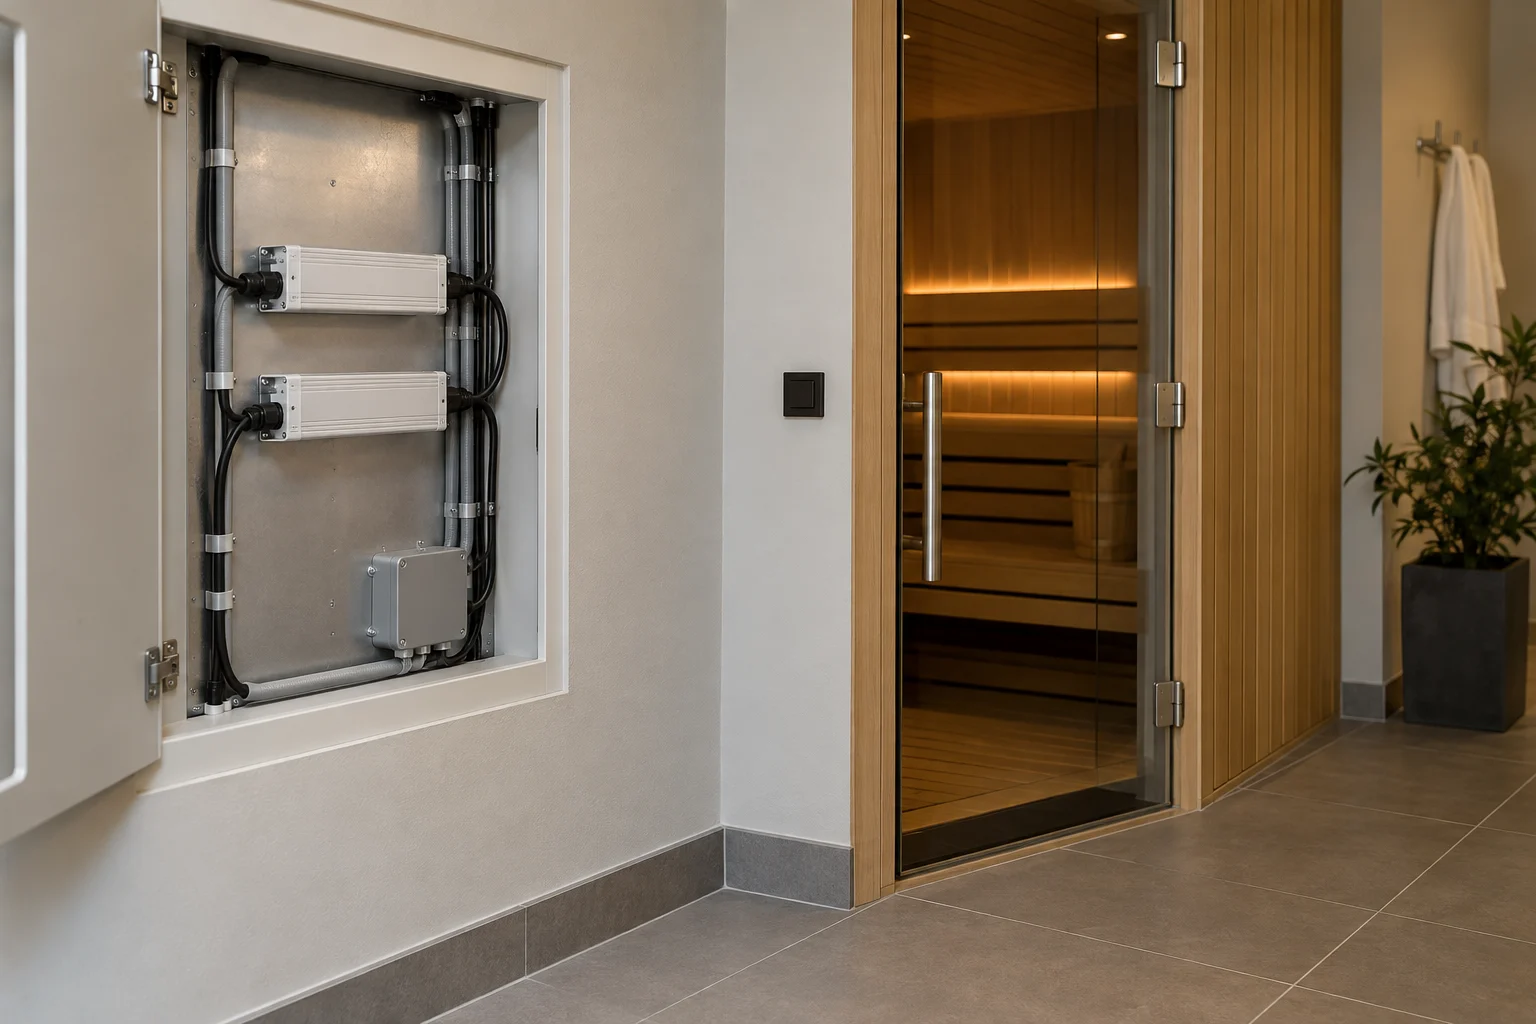
An accessible external location can reduce the driver’s exposure and simplify replacement, provided the chosen system permits it. It is not an absolute rule that every sauna supply must be outside: some purpose-designed systems expressly allow an internal supply under defined restrictions. Follow the selected system’s instructions rather than assuming either arrangement is always acceptable.
The external location creates a different constraint: a longer low-voltage feed. Calculate its load and voltage drop, and check the driver’s and controller’s cable-length restrictions. Cable insulation must suit every part of its route, including a short hot section near the light or through the room boundary.
Illustrative calculation: a 6 m, 24V light assembly rated 4.8 W/m has a nominal load of 28.8W and draws 1.2A. For a 10 m one-way copper feed, the outgoing and return conductors total 20 m. Assuming 1.0 mm² conductors and copper resistivity of approximately 0.0175 Ω·mm²/m at 20°C, loop resistance is 0.35Ω and nominal cable drop is 0.42V, or 1.75% of 24V.
This is arithmetic, not a cable-size recommendation or a pass threshold. It excludes joints, strip-track voltage drop, temperature effects, and actual load variation. Heated conductors have greater resistance; conductor suitability, protection, installation method, and allowable drop require a qualified design. A dimmed average-current reading must not conceal an unacceptable full-output condition.
Use RH’s power-supply sizing guide for the load-budget background. Keep the driver accessible and assess it with the service-cabinet door in its normal operating position, not only while the cabinet is open.
7. Design the Light for Seated and Reclined Views
A light concealed from a standing installer can be directly visible to a reclining guest. Review the detail from the entrance, the lowest seat, the upper bench, and the intended reclined positions. Check direct source visibility and bright reflections in wet tile or glass.
Start with the required appearance and visibility of benches, steps, and circulation, then establish the output needed. More lumens can make a narrow bright line more intrusive without improving the overall experience. Mock up the actual wood or tile finish, cover, recess, and viewing geometry.
Warm white is a design option, not proof of product suitability or a health benefit. For color-changing systems, include a usable white scene and test the full permitted channel combinations. Do not assume a wellness effect from a particular RGB color. RH’s commercial color-temperature guide and glare-control guide provide general visual-design context, not sauna compliance criteria.
Agree a normal guest scene and a brighter cleaning or inspection scene where the approved controls support them. Decorative lighting must not be assumed to replace any separately required general, safety, or emergency lighting.
8. Specify Mounting, Controls, and Service as One Assembly
Review the profile, clips, adhesive, fasteners, diffuser, end caps, and cable restraint together. A heat-rated light can still be poorly supported by an unsuitable mounting system. Use the manufacturer’s mounting arrangement and avoid sharp edges, exposed accessible parts, or fixings that compromise the room construction.
For enclosed flexible products, a bend that looks gentle can still exceed the permitted direction or radius. Plan factory lengths and corners before ordering. Do not cut or reseal the product on site unless its instructions explicitly support that process and identify the required parts and method.
Keep controls within their approved environment. A phone app or wireless controller does not remove temperature and moisture limits, and a metal service cabinet may affect wireless performance. Test the complete control chain, including restoration after power loss. The dimming-method guide can help frame that discussion.
Define how a failed light module is removed without dismantling the sauna interior or damaging the steam-room enclosure. Record which seals must be renewed and how the repaired assembly is checked. RH’s replacement compatibility guide explains why a visually similar new strip is not necessarily an equivalent service part.
9. Use a Go/No-Go Schedule Before Releasing the Order
| Approval item | Required record | Stop the release when |
|---|---|---|
| Intended application | Exact model and written support for the proposed sauna or steam-room conditions. | The only evidence is a generic waterproof or silicone description. |
| Thermal suitability | Relevant ambient/case limits, location restrictions, and assessment of the actual positions. | A material-temperature number is being used as the complete-product limit. |
| Moisture and cleaning | Assembly rating, end and entry details, cleaning restrictions, enclosure interface. | Joints or penetrations are excluded from the proposed detail. |
| Electrical and control design | Approved supply arrangement, load schedule, cable route, protection, and control compatibility. | The decision relies only on “it is 24V.” |
| Visual performance | Accepted sample with real finishes and seated/reclined viewing positions. | The decision relies only on a bare-strip photograph. |
| Maintenance | Access route, replacement parts, seal-renewal procedure, and ownership of follow-up checks. | Routine replacement requires an undefined repair to the room enclosure. |
After installation, retain the approved bill of materials, drawings, operating scenes, inspection results, and maintenance instructions. A brief power-on outside the room is not an operating-environment test. Product substitutions should trigger review of the affected approvals rather than an automatic acceptance based on matching wattage.
10. Keep General Spa Lighting Separate From Cabin Approval
Reception desks, relaxation lounges, and dry circulation areas may use conventional linear lighting where their documented limits are satisfied. Do not extend that selection into a sauna or steam enclosure simply to keep one product code across the building.
Start with the environment, then assess the lighting option
Send RH Strip Lighting your room drawings, proposed light positions, local temperature assessment, moisture and cleaning conditions, supply location, and desired effect. Ask for model-specific evidence before accepting any product for sauna or steam-room service. Where that evidence is unavailable, use a documented specialist system.
Discuss Your Spa Lighting SpecificationA convincing spa-lighting design joins appearance to documented operating limits. Keep ingress protection, thermal suitability, room sealing, and serviceability as separate checks, then approve the assembled result. That is more reliable than choosing the highest IP number on a roll of tape.
References
- IEC 60529: Degrees of protection provided by enclosures (IP Code). Official scope and publication information; the full standard is not reproduced here.
- Cariitti: Sauna Ultra Ambient RGBW. Example of separately stated ambient, housing-material, and cable ratings for a specific specialist product.
- Cariitti: Sauna Linear with a stove lens. Example of system-specific installation-height and power-supply restrictions.
- MrSteam: Plan Your Steam Shower Project. Manufacturer planning guidance, including vapor-sealed lighting; consult the applicable installation manual.
- MrSteam: Chroma Light Cable and Steam-Room Lighting. Product-specific location guidance and qualified-electrician recommendation; no health claims from the source are adopted here.
Request a Project or Trade Quote
Sourcing for an installation project, resale or OEM production? Share your requirements below. You can discuss project samples before committing to a bulk order.
Related Articles
LED Strip Lighting After a Power Outage: Designing a Reliable Restart
Plan LED strip power restoration beyond total watts. Review driver inrush, switching limits, restart scenes, and commissioning before project handover.
Why LED Strip Lights Buzz When Dimmed: A Guide for Quiet Spaces
Diagnose LED strip buzzing without guessing. Review drivers, PWM controls, mounting resonance, and low-level acoustic acceptance for quiet interiors.
LED Strip Lighting for Modular Retail Shelves: Design for Reconfiguration
Specify modular shelf lighting beyond driver wattage. Check shared-feed current, connector durability, cable movement, controls, and approved configurations.